Advanced tutorial: Using the generator package to create Web service drivers
In this tutorial, you will use the Siren generator package to set up a Web service driver project that retrieves weather information from the OpenWeatherMap API.
Prerequisites
Before you begin, it is recommended that you complete both the Beginner tutorial and the Intermediate tutorial.
Download and install the following tools:
You will then need to get an OpenWeatherMap API key by creating an account at https://openweathermap.org and visiting the My API Keys section.
Steps
You can generate a boilerplate Web service driver project by using a template that is provided in the Siren generator.
|
The Siren generator package will generate code files written in the TypeScript language. |
-
Install the generator by running the following command:
npm install -g yo @sirensolutions/generator-web-service -
Generate the project by running the following command:
yo @sirensolutions/web-service -
The generator asks you to enter the name of the service group and the Web service. Name the service group
generator-tutorialand the Web serviceMyGeneratedService. -
Go into the generated project directory and add the
momentpackage by running the following commands:cd generator-tutorial npm install moment -
Open the file
src/MyGeneratedService.ts. -
Import the moment package and specify the type of
ServiceDefinitionfor the service to be an object with a string setting namedauth_token. Users of your Web service driver will be able to set these attributes in the Siren Investigate configuration fileconfig/investigate.yml, which is the appropriate place for storing sensitive configuration attributes, such as API keys.// ... import * as moment from 'moment'; export default class MyGeneratedService extends ServiceDefinition<{ auth_token: string }> { // ... } -
Set the
inputSchemadefinition to require acity_namevariable. Users will be able to enter the variable on every invocation through the Siren Investigate UI.// These are the inputs that the user sees in the UI readonly inputSchema: InputSchema = { city_name: { type: 'text', description: 'The name of the city to query', required: true } }; -
List the Elasticsearch fields that will be created upon a successful invocation in the
outputConfigurationvariable. The fields that are declared in the output configuration will be indexed into a dedicated index, which is named after the the group name and the driver name. In this example, that name isweb-services-generator-tutorial-mygeneratedservice-results-weather_info.readonly outputConfiguration: OutputConfiguration = { weather_info: { time_stamp: "date", location: "geo_point", description: "text", temperature: "float", feels_like: "float", humidity: "float", name: "keyword", } }; -
Finally, change the
invokefunction as follows:async invoke(inputs: { city_name: string, use_metric_system?: boolean }): Promise<DataIndexResults> { const options = { params: { q: inputs.city_name, appid: this.config.auth_token }, headers: { 'Content-Type': 'application/json' } } const response = await axios.get('https://api.openweathermap.org/data/2.5/weather', options) .catch(err => Promise.reject(err.response && err.response.status < 500 ? new WebServiceError(err.response.data) : err)); return { weather_info: [{ time_stamp: moment().toISOString(), location: response.data.coord, description: response.data.weather.description, temperature: response.data.main.temp, feels_like: response.data.main.feels_like, humidity: response.data.main.humidity, name: response.data.name }] }; } -
Test the
invokefunction by running the following command, passing your own API key to the--config:auth_tokenargument:node invoke mygeneratedservice --input:city_name London --config:auth_token <your-api-key> -
Open the file
src/index.ts. -
Modify the file to have the following contents so that every configuration variable added to the ServiceDefinition can be validated when loaded from the Siren Investigate configuration file:
import { Joi, registerServices } from '@sirensolutions/web-service-interface'; import MyGeneratedService from './MyGeneratedService'; const configSchema = { auth_token: Joi.string().default('change-me') }; // This is the syntax for registering the 'MyGeneratedService' service into the group 'generator-tutorial' export = registerServices('generator-tutorial', [MyGeneratedService], configSchema); -
It’s ready to go! Package the project by running the following command:
npm run packageThis command creates the
target/generator-tutorial.zipfile. -
Install the Web service driver by running the following command:
cd path/to/siren-investigate ./bin/investigate-plugin install file:///absolute/path/to/generator-tutorial/target/generator-tutorial.zip -
Start Elasticsearch by running the following commands:
cd path/to/elasticsearch bin/elasticseach -
Go the directory where Siren Investigate has been installed:
cd path/to/investigate -
Edit the
config/investigate.ymlfile and add the following snippet to enable Web services and set the API key that will be used by the driver:web_services: global: enabled: true generator-tutorial: enabled: true config: auth_token: '<your-API-key>' -
Start Siren Investigate by running the following command:
bin/investigate -
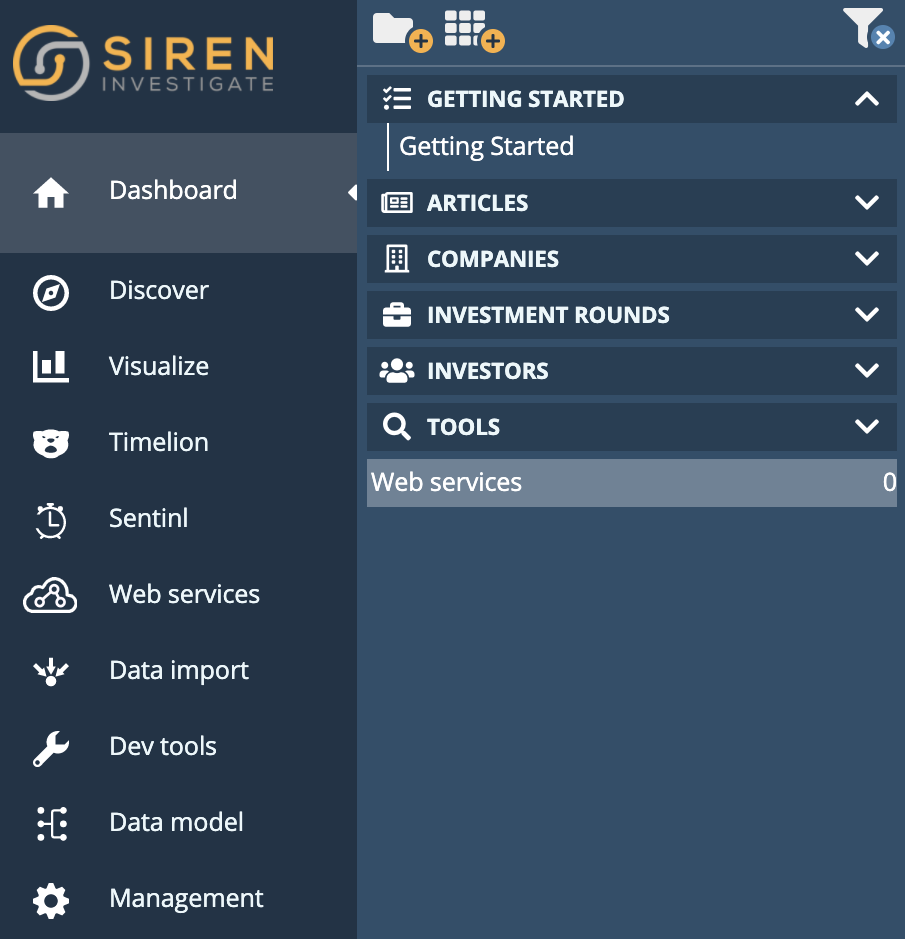
Open Siren Investigate in your browser (running on http://localhost:5606 by default), and click on the Web services dashboard.

-
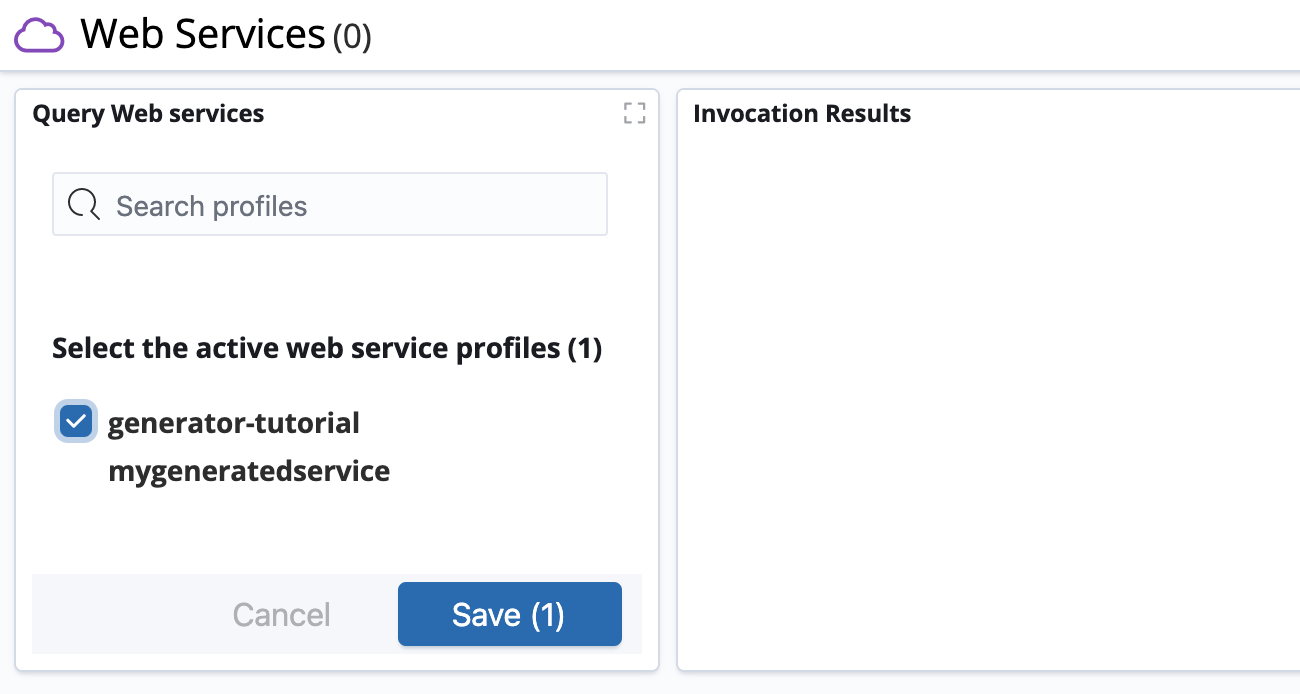
Select
generator-tutorial mygeneratedserviceas the active Web service profile in the Query Web services visualization and click the Save button.
-
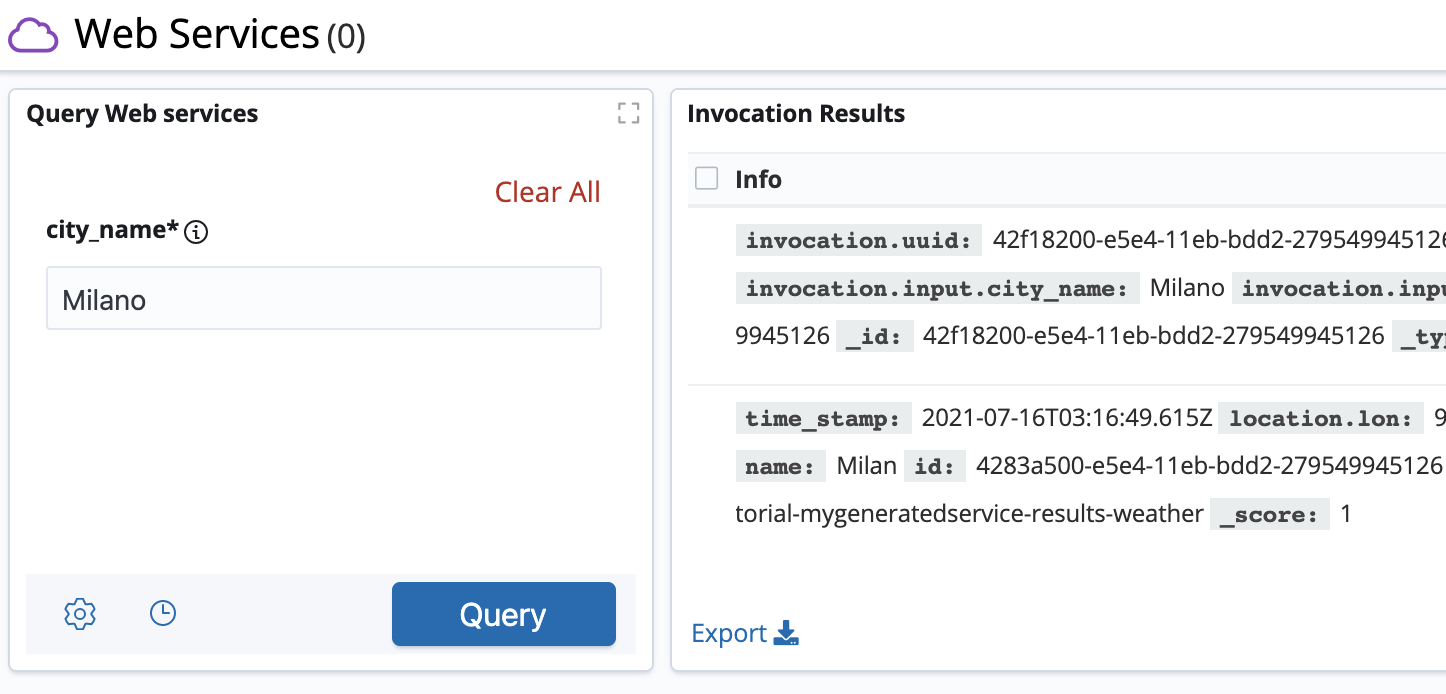
Enter a string in the message field and click Query; you should see the result of your request in the Invocation Results visualization.

For more information about creating Web services, see API reference.